We've all been there — hunched over a project in a cramped garage, tools scattered on every surface, extension cords snaking across the floor, and barely enough room to turn around. A real metal workshop fixes all of that. It gives every tool a home, every project room to breathe, and you a space that's actually built for getting things done.
But here's the thing we've learned after 30 years of helping Oklahomans build them: the two most common regrets have nothing to do with the steel. They're building too small, and picking a size before figuring out what the space actually needs to do. Get those two right and everything else falls into place.
This guide walks you through it the smart way — starting with how you'll use the shop, then working out to size, layout, doors, lighting, and insulation.
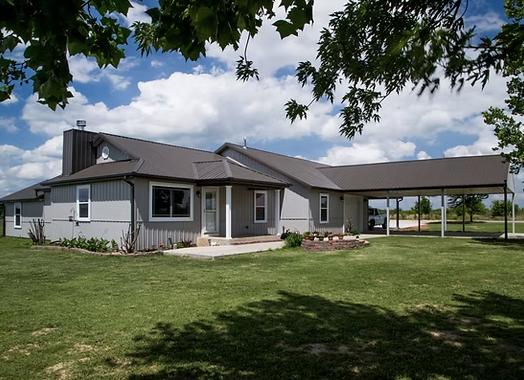
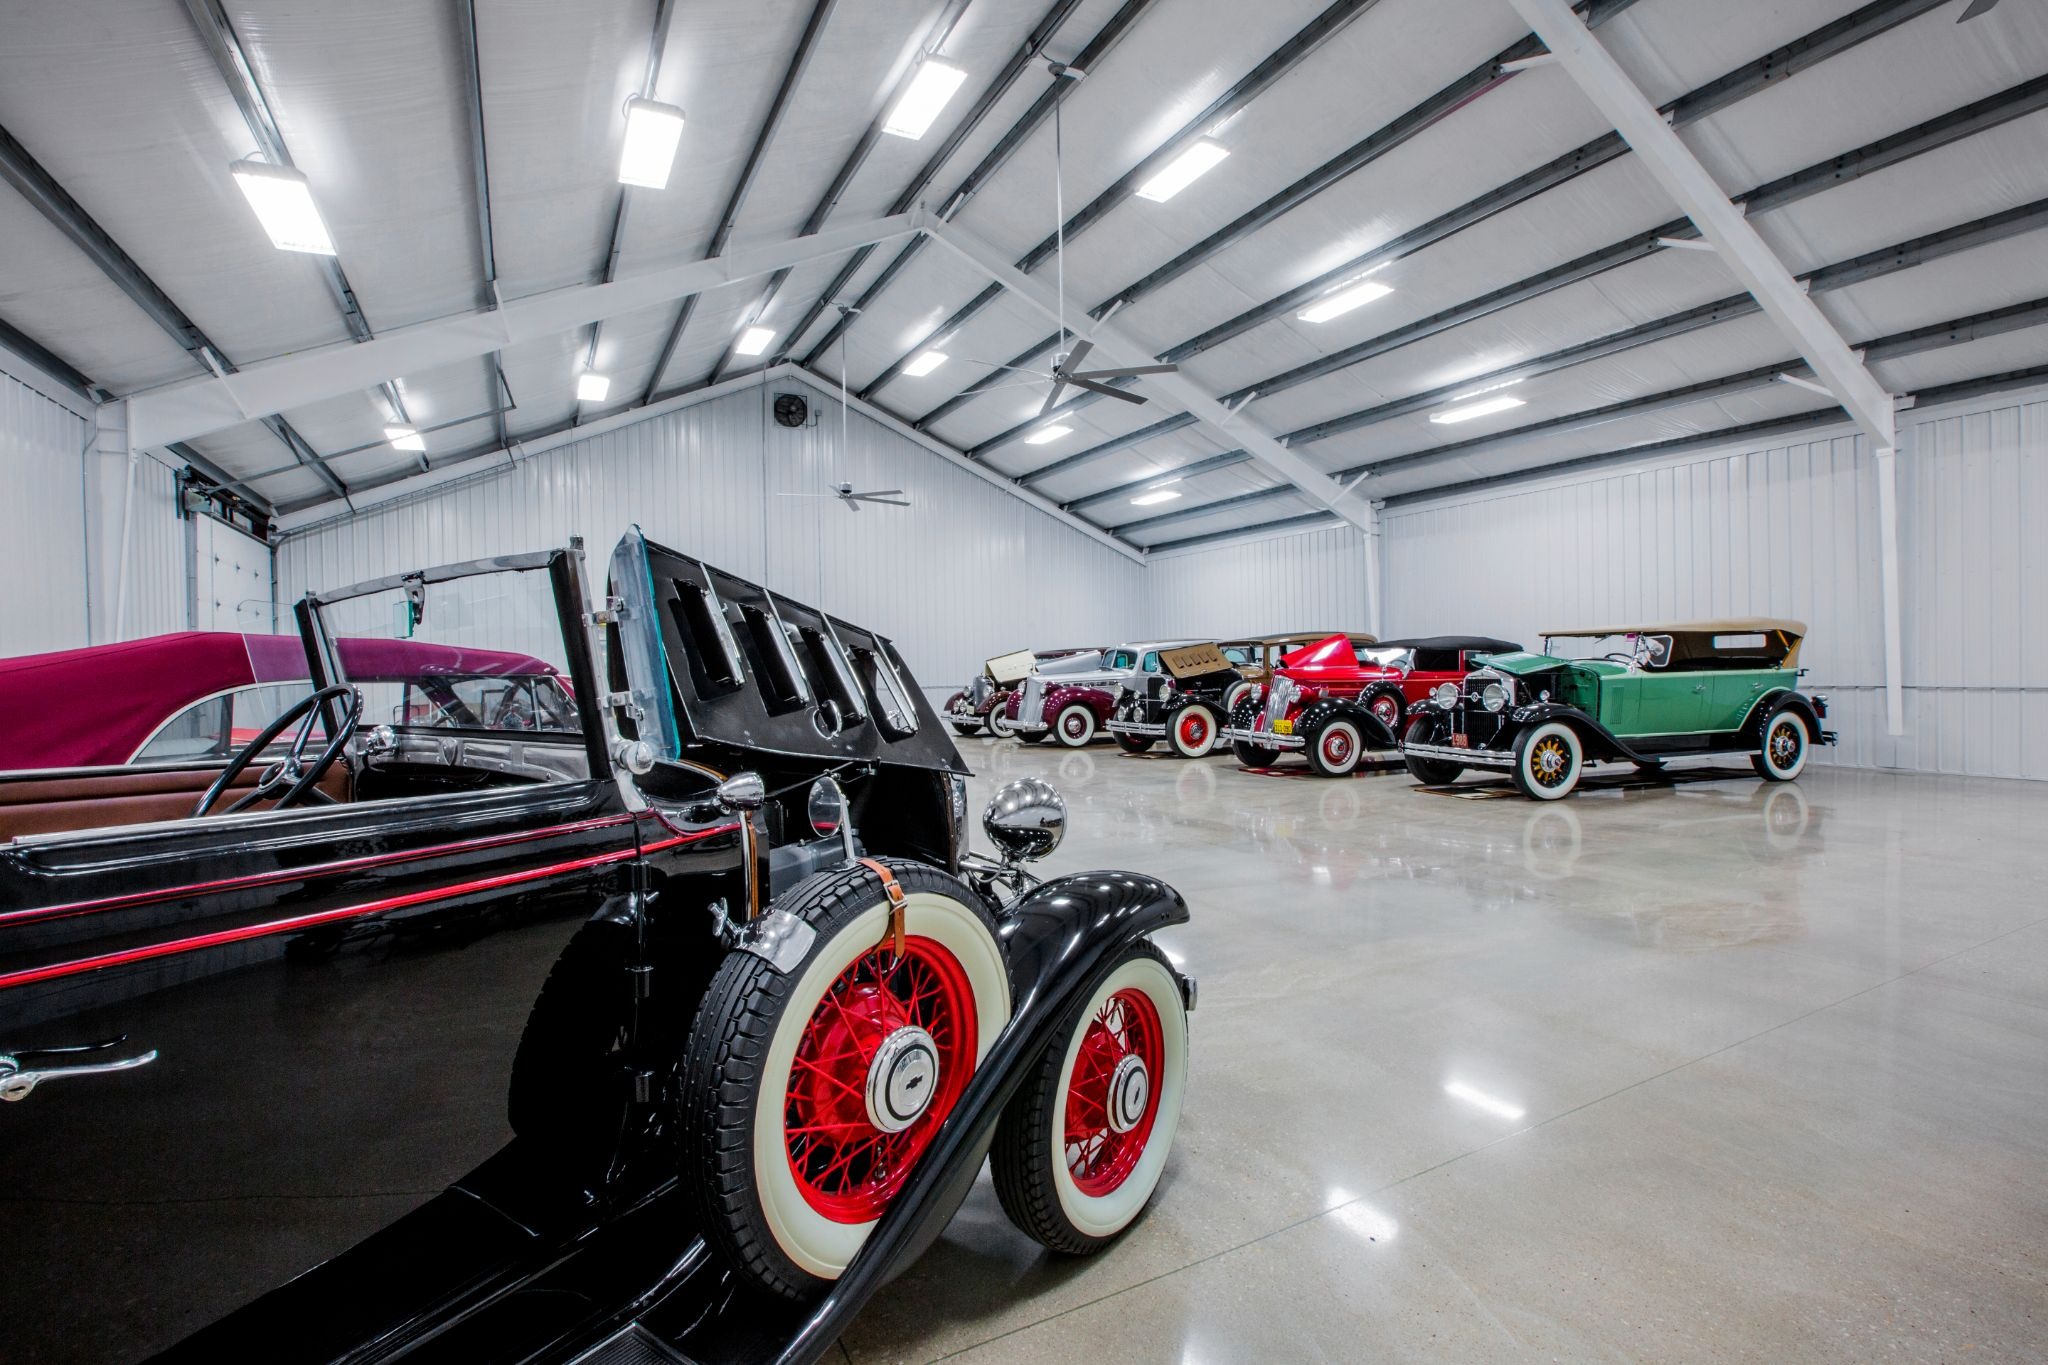
A metal workshop is a dedicated steel building — separate from your house and garage — designed as a workspace for hobbies, repairs, or a side business. Think woodworking, automotive restoration, welding and metalwork, or a flexible multipurpose shop.
Why steel instead of a stick-built shop? A few reasons that matter most when you're the one working in it:
At Indaco Metals, every workshop ships as an engineered building kit — stamped drawings, cut-to-length panels, purlins, trim, and laser-cut parts, all labeled and bundled so you (or your contractor) can assemble it without guesswork.
The single best thing you can do before you spend a dollar is map out how you'll work in the space. Different hobbies pull the design in different directions:
Write down your equipment, your biggest workpiece, and what you want to be doing in here in two years. That list drives every decision below.
Once you know the use, size becomes a lot less guesswork. Here's a practical starting point for home and hobby shops:
For most homeowners, 30×40 is the sweet spot — enough room for a full workbench, tool storage, and a project vehicle without jumping to commercial sizing. If your hobby involves big equipment or you want clear walking aisles around machinery, step up to 40×60.
And about that "biggest regret" we mentioned: you will fill whatever you build. It's almost always cheaper to add 10 feet of length now than to wish you had it later, since adding length is the most economical way to grow a building. When you're on the fence between two sizes, go bigger.
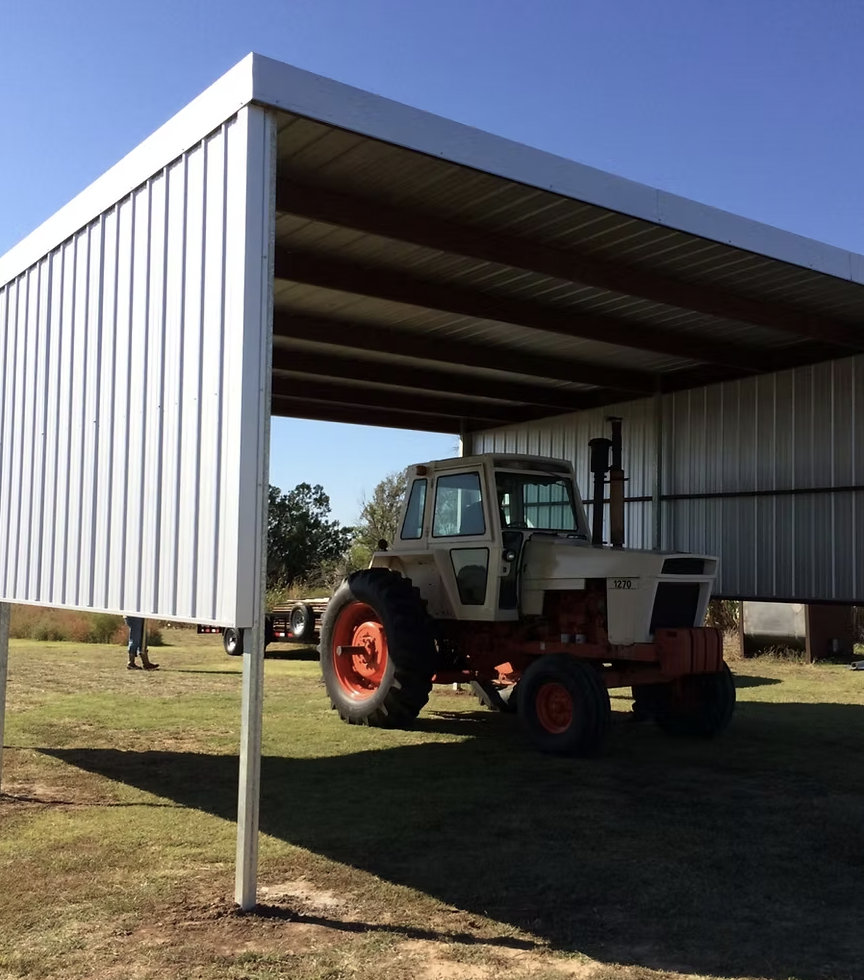
Floor space gets all the attention, but eave height (the wall height) quietly decides what you can actually do inside. For a workshop, 10–12 feet is the practical range:
One thing to plan for: insulation and an interior liner eat into your clearance. On a 12-foot eave with a full insulation package, your usable height at the wall ends up a few inches lower — worth knowing before you spec a lift.
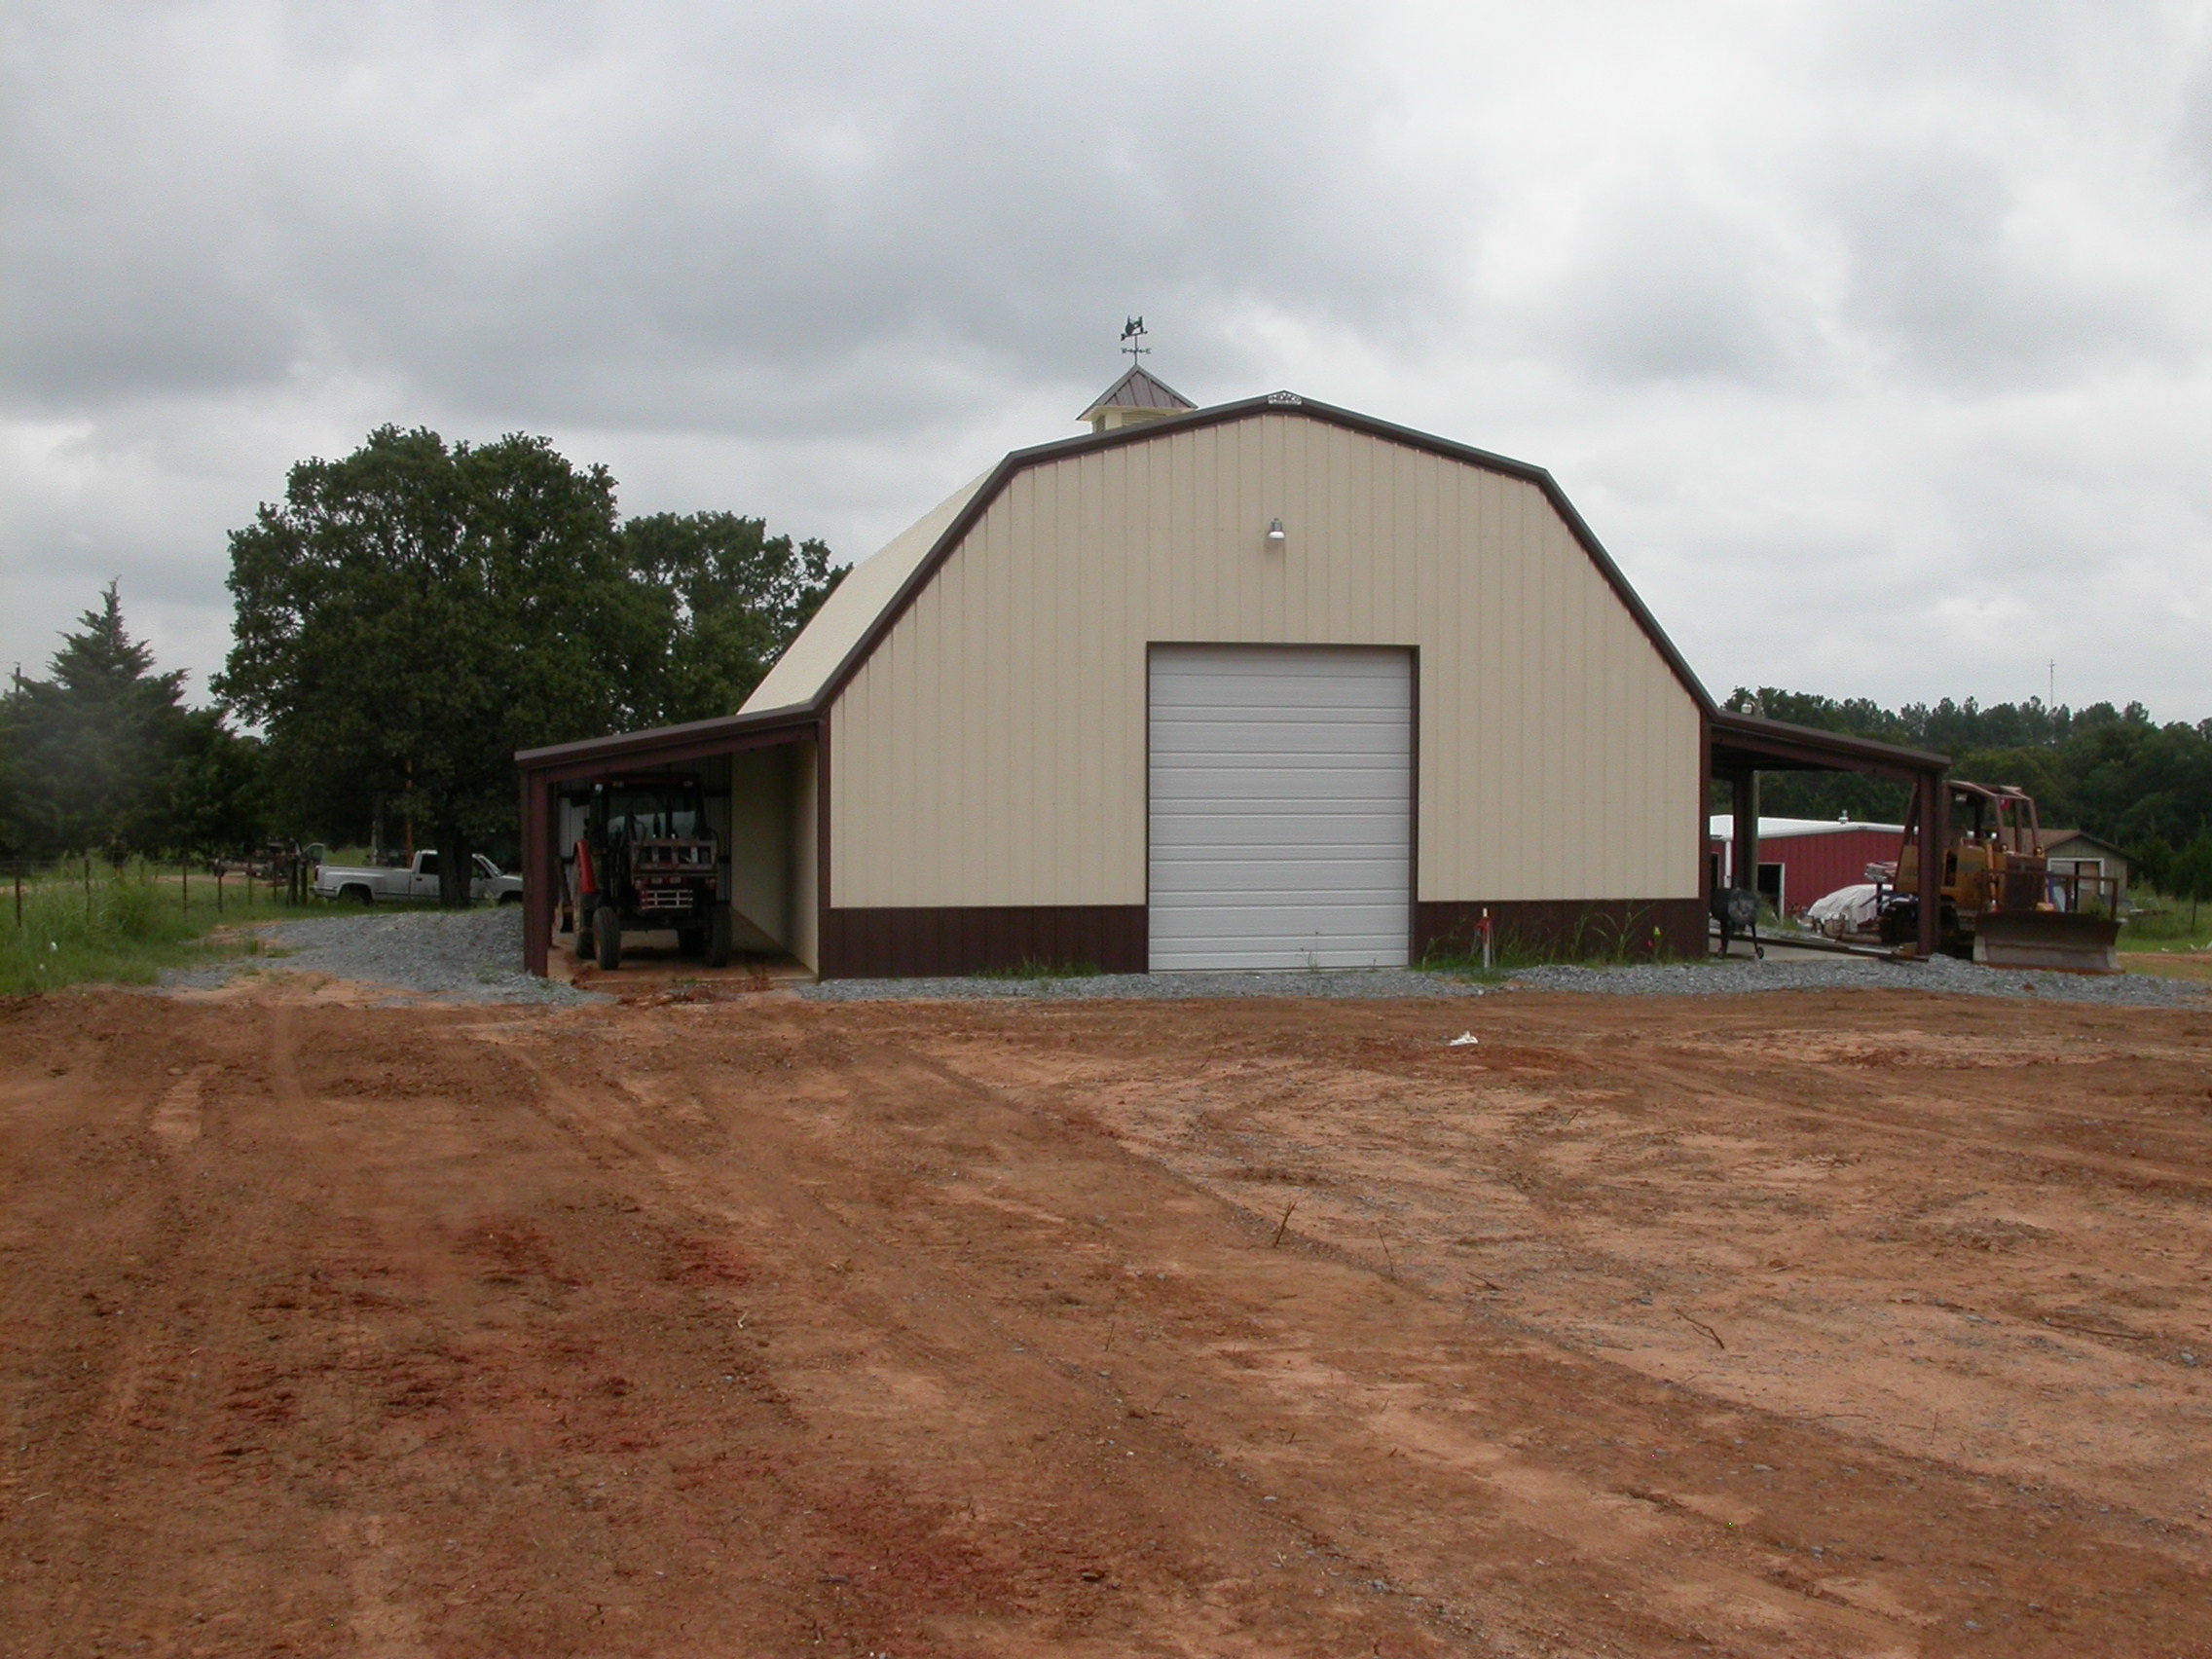
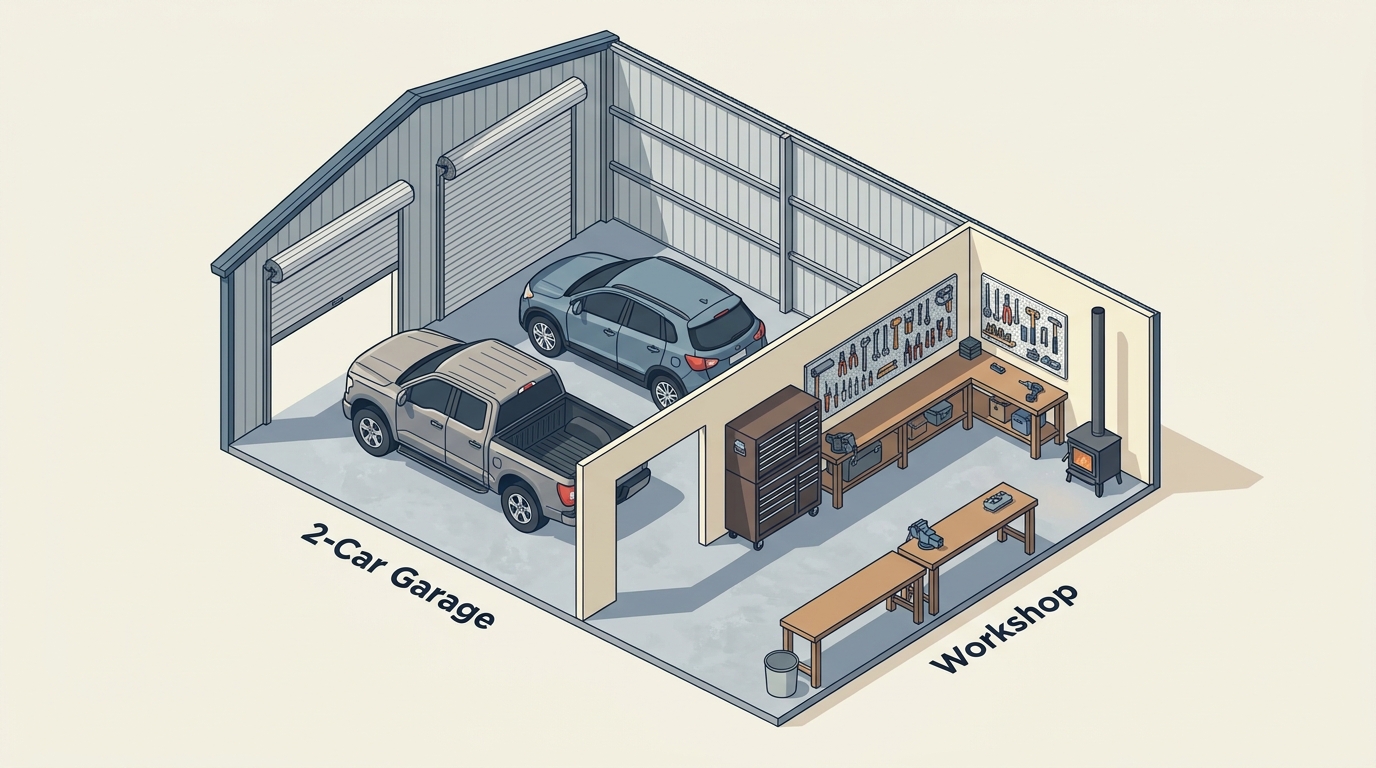
This is where clear-span construction pays off. With no interior columns, you can build the layout around how work actually moves through the space. The simplest rule that never fails:
Materials come in one end → work happens in the middle → finished projects go out the other.
From there, think in zones:
Keep your most-used tools closest to your most-used bench, and leave clear walking aisles (3 feet minimum) so you're not squeezing past machines with a sheet of plywood. Because the interior is wide open, you can rearrange as your hobby evolves — no posts to design around.
Doors are easy to under-think and expensive to change later, so plan them with your workflow — not just your wall. A few guidelines for hobby shops:
For a deeper look at sizes, wind ratings, and window options, see our full guide on choosing garage doors for metal buildings.
Good lighting is the difference between a shop you love and one that gives you eye strain. Layer two sources:
Natural light. North-facing windows give soft, even daylight without the heat gain and glare of direct sun. Clerestory windows — set high on the wall — bring in light without using up valuable wall space for benches and cabinets. Translucent roof panels are another cheap way to flood the shop with free daytime light, and they're far easier to design in up front than to add later.
Artificial light. Run LED high-bay or strip fixtures in rows down the length of the building for even base lighting, then add task lighting directly over your bench, saw, and assembly areas. The trick is positioning fixtures so you're not casting your own shadow onto the work in front of you.
Bare steel and Oklahoma weather don't mix. Steel conducts heat dramatically faster than wood, so an uninsulated metal shop bakes in summer, freezes in winter, and — worst of all — sweats. That condensation drips onto tools and benches, rusts your equipment, and makes the floor slick.
Insulation solves both the temperature and the moisture problem. The common options:
For a space you'll actually spend hours in, R-13 to R-19 hits the sweet spot of comfort and cost for most hobby shops. The most important advice we can give: decide on insulation before you order, because it affects how the kit is detailed and how easy the install will be. Our full breakdown is here: how to insulate a metal building.
For year-round comfort, a ductless mini-split is the most efficient option — a 24,000 BTU unit comfortably handles a 600–900 sq ft shop, mounts on the wall (no floor space lost), and runs on a standard 240V circuit.
Ventilation matters just as much, especially if you weld, paint, or run finishes. A wall-mounted exhaust fan on one end paired with the open roll-up door on the other gives you simple cross-ventilation; a ridge vent along the roof peak keeps air moving passively. For welding or spraying, add a dedicated fume extractor right at the source — general airflow alone isn't enough for metal fumes or solvents.
A workshop is only as good as what's under and behind the walls:
Before you build, check local zoning, setbacks, and permit requirements with your county or city building department — these vary by jurisdiction, and rural and in-town lots play by different rules. Indaco's in-house engineering delivers stamped, code-ready drawings for your wind and snow loads, and our team helps you navigate the requirements (note that we don't submit permits on your behalf).
On budget: a prefab kit is the most cost-effective route, and total project cost depends on size, insulation, foundation, openings, and finishes. Get a detailed quote so you know exactly what's included, and build in a 10–20% contingency for site work, permits, and the upgrades you'll inevitably want.
For over 30 years, Indaco Metals has helped Oklahoma homeowners and DIYers turn a corner of the property into the shop they always wanted. We manufacture engineered steel building kits in our Oklahoma facilities — in-house purlin former and laser cutter, stamped drawings, cut-to-length panels, and labeled, field-ready bundles that install without the guesswork.
Ready to plan yours? Try our 3D Builder to visualize size and openings, request a quote, or stop by our Shawnee or Sand Springs showrooms to see the materials firsthand and talk through your project with our team. Tell us how you'll use it, and we'll recommend the right structure, size, and options for your needs and budget.
If you're still in the dreaming phase, our shop building kit planning guide is a great next read.
What's the ideal size for a home metal workshop? For most homeowners, 400–600 sq ft (a 20×20 or 20×30) covers a workbench, storage, and a clear walkway, while a 30×40 is the popular sweet spot when you want room for a bench, tool storage, and a project vehicle together. Choose based on your equipment and leave room to grow.
How much does it cost to build a metal workshop? It depends on size, insulation, foundation, and finishes. A prefab kit is the most cost-effective path, with costs scaling mainly with square footage and the openings and insulation you add. The best way to budget accurately is a detailed quote that itemizes what's included — then add a 10–20% contingency.
Is it better to buy a prefab kit or build fully custom? Prefab, pre-engineered kits assemble faster and cost less, and they're ideal for standard layouts. A fully custom design gives you total flexibility on size, roofline, and special features — the right call if you need a unique footprint, specialized zones, or room to expand. Custom buildings are worth a look if a stock size doesn't fit.
What kind of insulation is best for a metal workshop? For a space you'll work in for hours, faced fiberglass blanket insulation in the R-13 to R-19 range usually hits the best balance of cost and performance, with spray foam as the premium choice when condensation control is the priority. Decide before you order so the kit is detailed for it.
How do I heat a metal workshop? A ductless mini-split is the most efficient option for a hobby shop and provides both heat and AC; a 24,000 BTU unit suits a 600–900 sq ft space. Good insulation does most of the work — it keeps the heat you make from leaking straight through the steel.
How do I keep a metal workshop organized? Lay it out by workflow — intake near the big door, a fixed work zone in the middle, and tool storage (pegboards, cabinets, rolling chests) within reach of your main bench. Clear-span construction lets you rearrange freely as your hobby grows.
Complete this short form, or give us a call anytime: