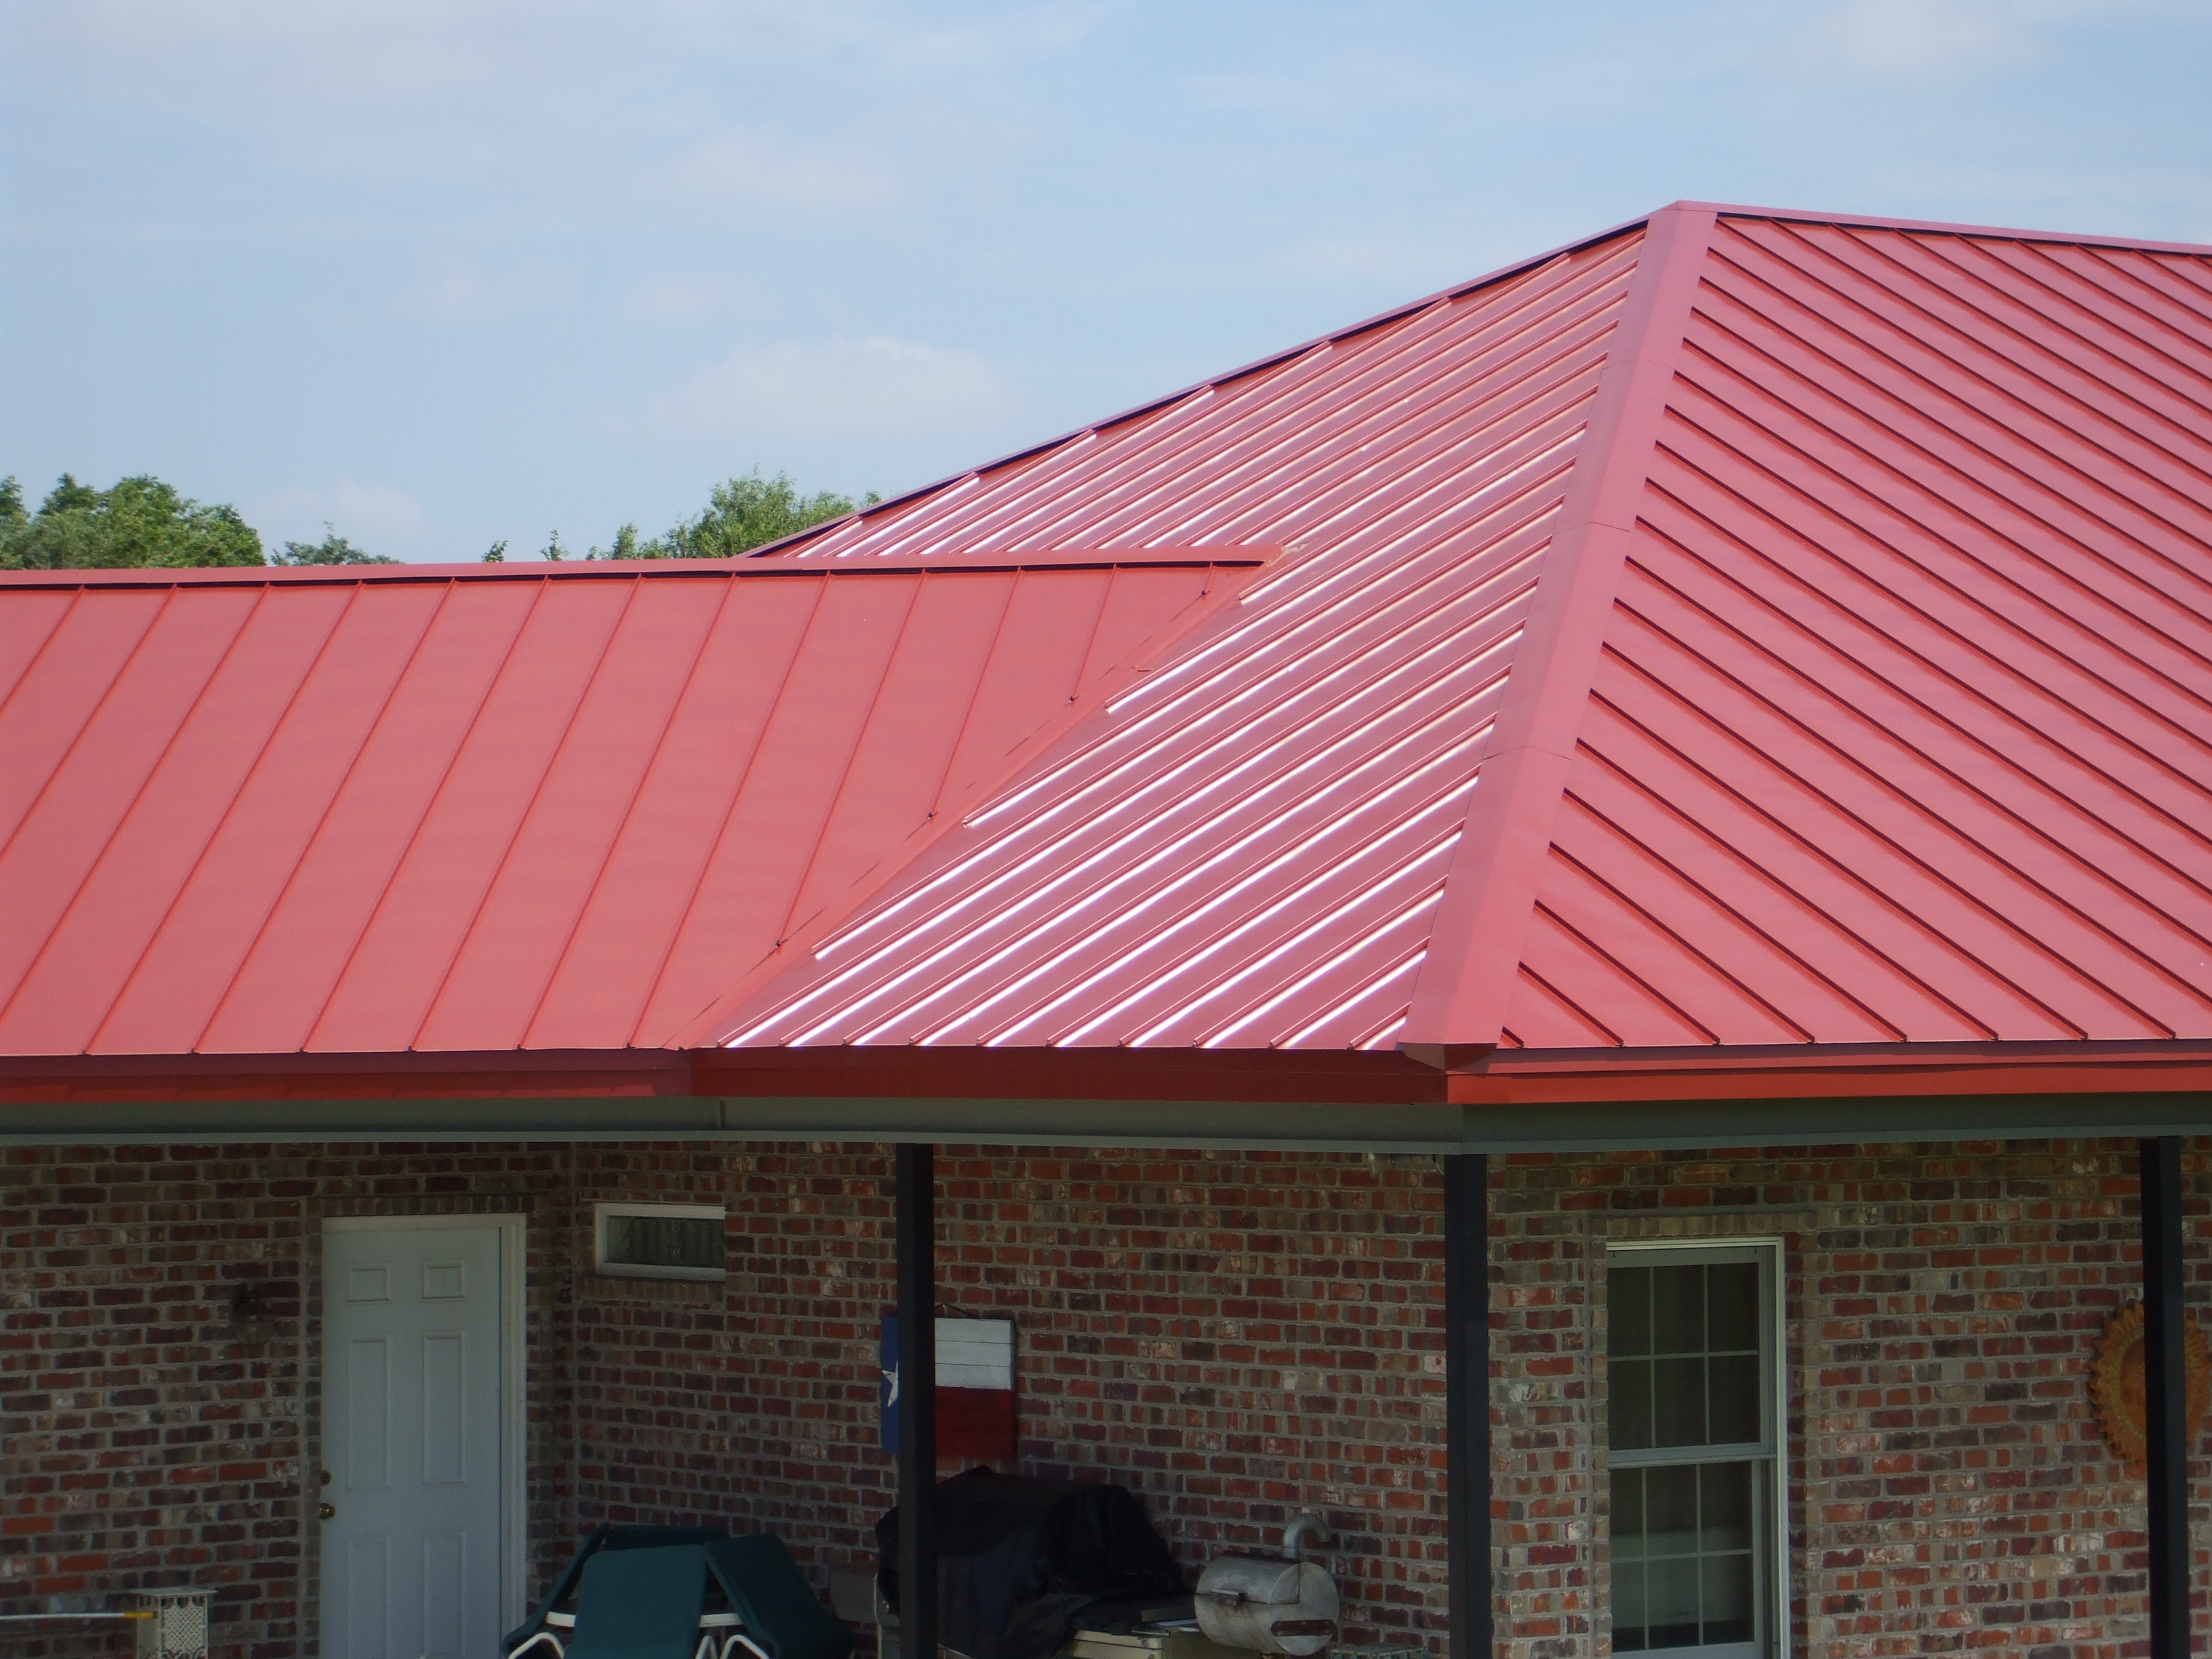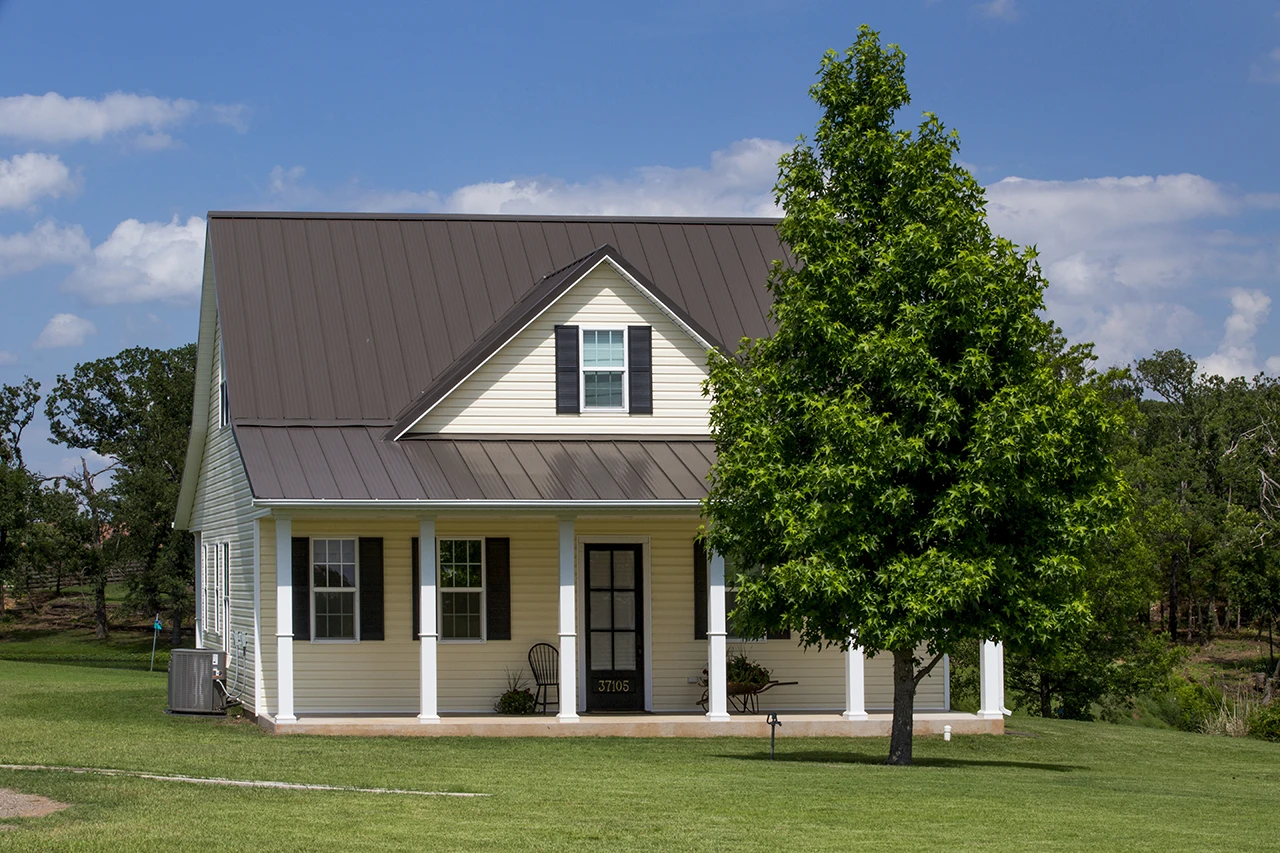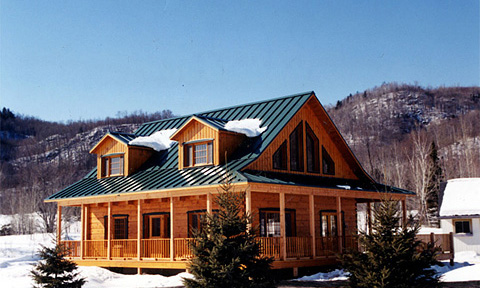
A metal roof is one of the best upgrades you can make to a home, shop, barn, or shed here in Oklahoma—and with the right materials and a little patience, it's a project many handy homeowners can tackle themselves. The good news is that installing metal roofing isn't complicated. The trick is doing the small things correctly: laying your underlayment right, getting that very first panel square, and—more than anything else—driving your screws the right way. Get those fundamentals down and you'll have a roof that sheds water and stands up to storms for decades.
At Indaco Metals, we've been manufacturing metal roofing right here in Oklahoma since 1995, and we supply the panels, trim, closures, and fasteners that go into thousands of DIY and contractor roofs every year. This guide walks you through how to install a metal roof step by step, including the mistakes we see most often and how to avoid them.
Installing metal roofing on a low-slope shed, garage, carport, or shop is very achievable for a confident DIYer with a helper. A steep, tall, or complex roof with lots of valleys and penetrations is a different story—working at height is genuinely dangerous, and a poorly flashed valley will leak no matter how good the panels are. Be honest about the pitch, the height, and your comfort level. When in doubt, our team can help you plan the job and connect you with a contractor for the parts that need one.
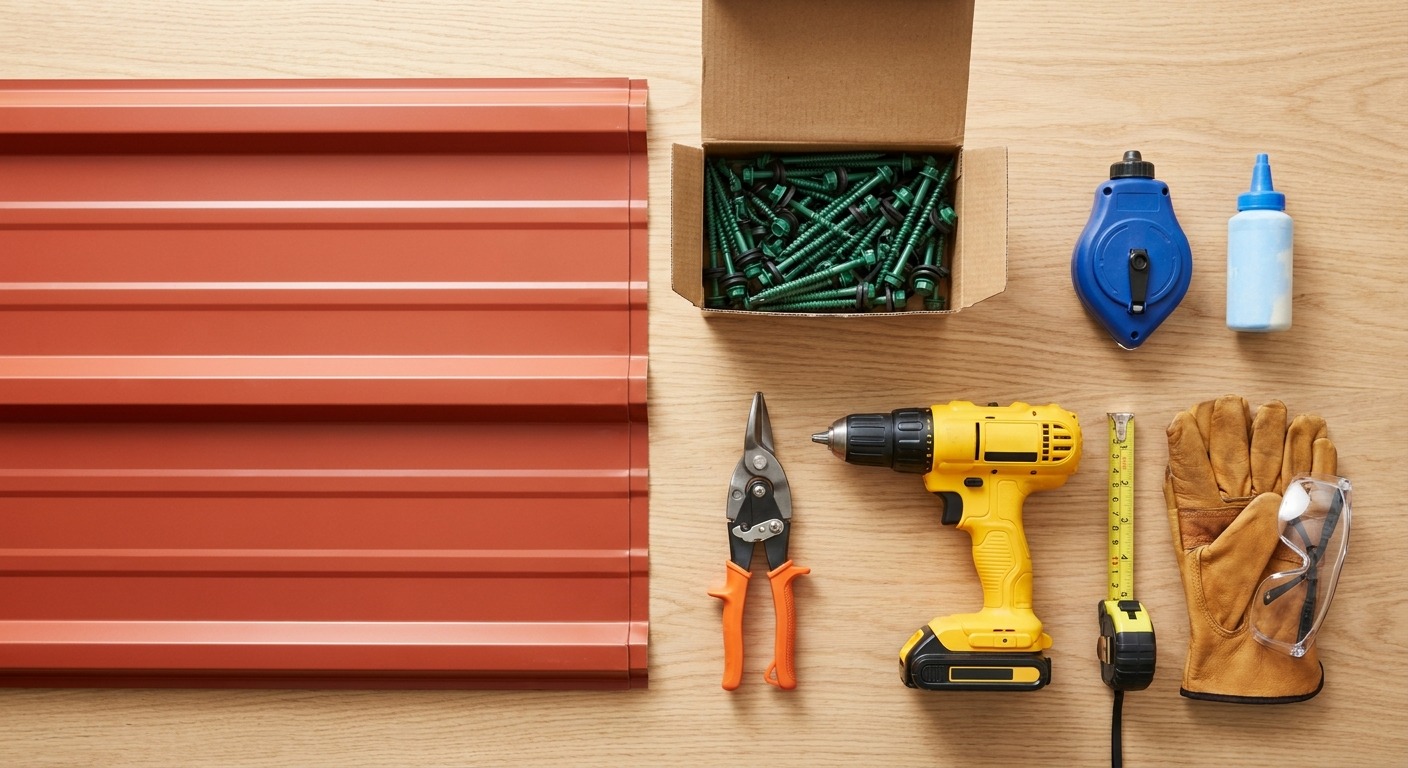
A few things to line up before your panels arrive:
Metal roofing goes on one of two structures: solid decking (plywood or OSB, common on houses and finished buildings) or open framing/purlins (common on pole barns and shops). How you prep depends on which you have.
On a solid deck, start with a clean, dry, sound surface. Pull old roofing down to the deck, replace any soft or rotten sheathing, and sweep it clean. Then install your metal roofing underlayment. Underlayment is your critical second line of defense—it protects the deck while you work and backs up the panels for the life of the roof.
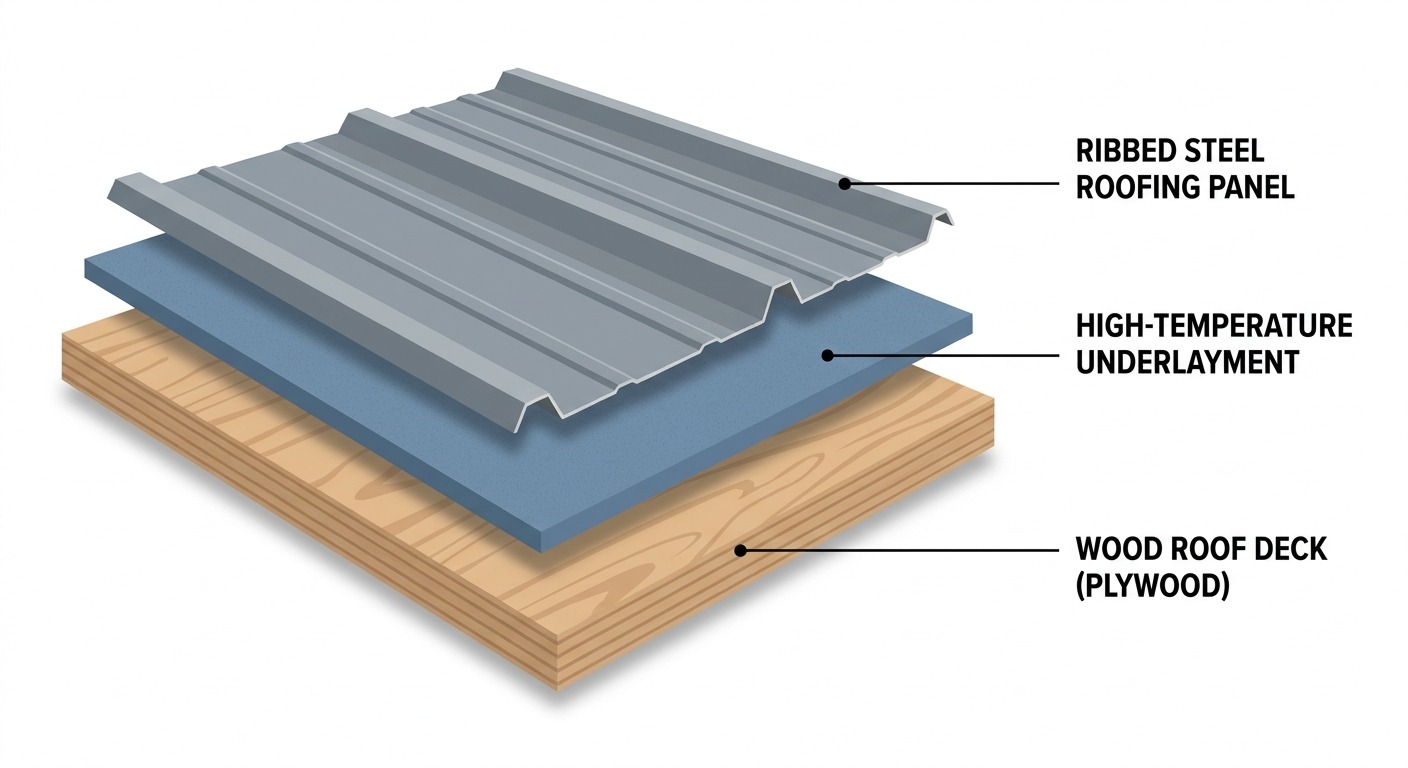
For Oklahoma's heat, a synthetic underlayment or a high-temperature self-adhering (peel-and-stick) membrane is the right call. Standard asphalt felt can soften and break down under the temperatures a metal roof reaches in summer, so look for a product rated for use under metal. Run it horizontally from the eave up, overlapping each course over the one below (shingle-style) so water always sheds down and out. Pay special attention to eaves, valleys, and around any penetrations—these are the spots that leak, so many builders run a peel-and-stick membrane in those areas even when using a synthetic elsewhere.
If you're roofing over open purlins on a barn or shop, there's no solid deck to cover, but you may still want a condensation-control layer or a radiant barrier under the panels to manage the "sweating" that happens when warm, moist air meets cold steel. Ask us what makes sense for your building.
This is the step that makes or breaks the whole job. A metal roof is only as straight as its first panel. If that first panel goes on crooked, every panel after it drifts further off, and you'll run out of room—or overhang—by the time you reach the far side.
Start by installing your eave (drip) trim along the bottom edge so water sheds cleanly into the gutter instead of wicking back under the panels. Then take your time setting the first panel:
Spend ten extra minutes here. It's the cheapest insurance on the entire roof.
If there's one place DIYers go wrong, it's the screws. Over-tightening (and under-tightening) metal roofing screws is by far the most common mistake we see, and it's the number-one cause of leaks on an otherwise good roof.
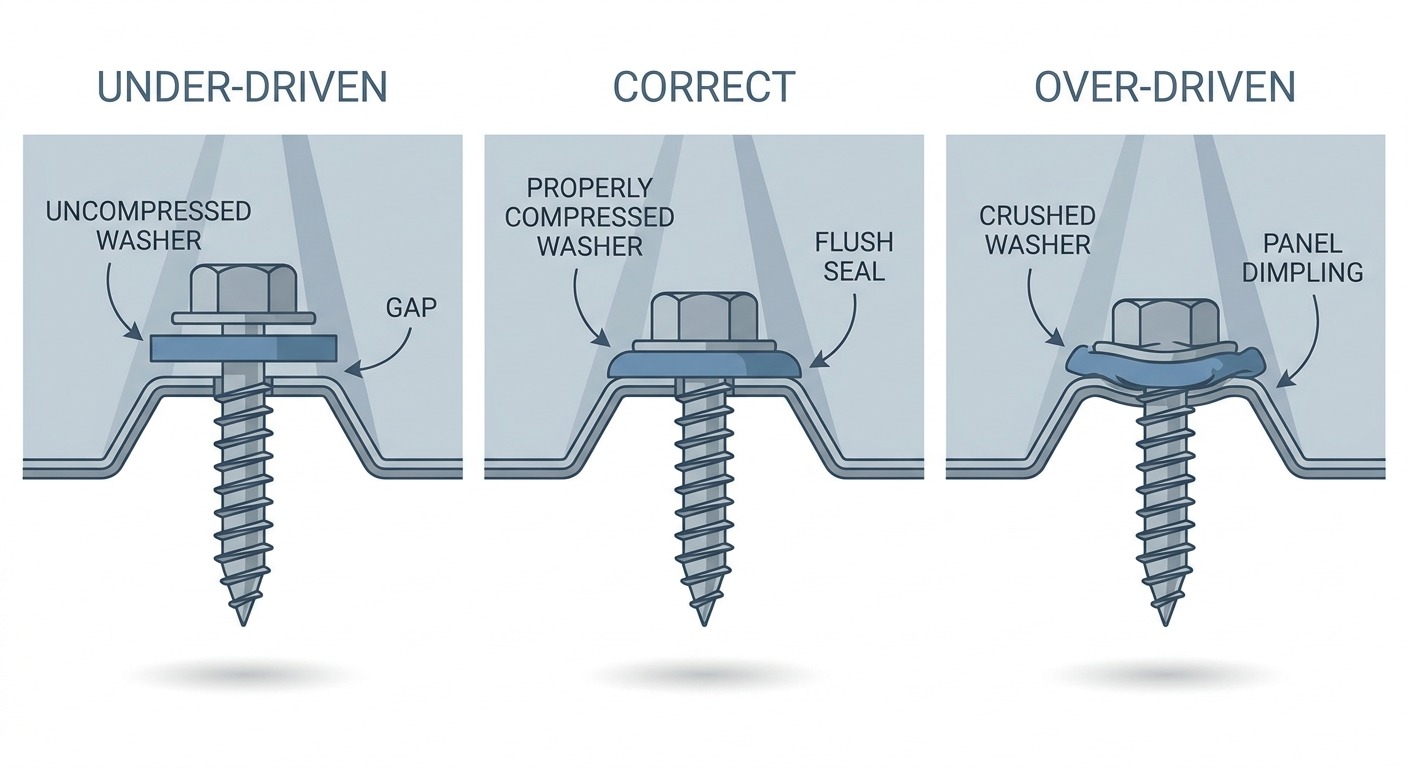
Metal roofing screws have a bonded washer—a rubber (EPDM/neoprene) gasket bonded to a metal cap. That washer is what seals out water. When you drive the screw to the correct depth, the washer compresses just slightly and mushrooms out to the edge of the metal cap, forming a watertight seal. Here's how to get it right:
For exposed-fastener panels like our R-Panel and Duraloc profiles, screws are driven through the face of the panel into the deck or purlin below. Follow the fastener spacing in your kit's instructions—generally you'll place screws along each purlin line or per the layout for solid decking, with tighter spacing at the eaves, ridge, rake edges, and along panel sidelaps where wind uplift is highest. Fasten panel overlaps so the seam stays tight and weatherproof.
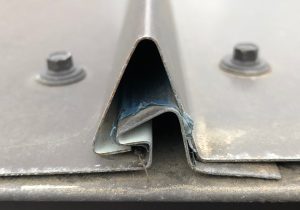
If you chose a residential standing seam roof, the system works differently: it's a concealed-fastener panel, meaning the panels lock together and are secured with hidden clips or a nailing strip, leaving no exposed screws on the flat of the roof. It's a cleaner look and there are no face penetrations to maintain, though it's a slightly more involved install. Not sure which profile is right for your project? That's exactly the kind of thing our team talks through with folks every day.
Metal roof closure strips are the foam or profiled pieces that fill the gaps left by the ribs of your panels—the little openings you'd otherwise see at the eave and the ridge. They're small, inexpensive, and easy to skip, but leaving them out invites wind-driven rain, insects, and even birds up under your roof.
Use inside closures at the eave (they sit under the panel and block the openings at the bottom edge) and outside closures under the ridge cap (they seal the top of the panel ribs before the cap goes on). Match the closure to your exact panel profile so it seats snugly—closures are shaped to fit specific panels, which is another reason to source your panels and closures from the same manufacturer.
You'll almost always need to cut a few panels—around a chimney, at a valley, or to trim the final panel to width. How you cut matters as much as where you cut.
The big thing to avoid: do not use an angle grinder or an abrasive circular-saw blade. They cut fast, but they throw off a shower of hot metal filings that embed in the panel's finish and rust into tiny orange freckles ("red rust"), and the heat can scorch the coating right at the cut. It ruins the look of a brand-new roof and voids the whole point of a factory finish.
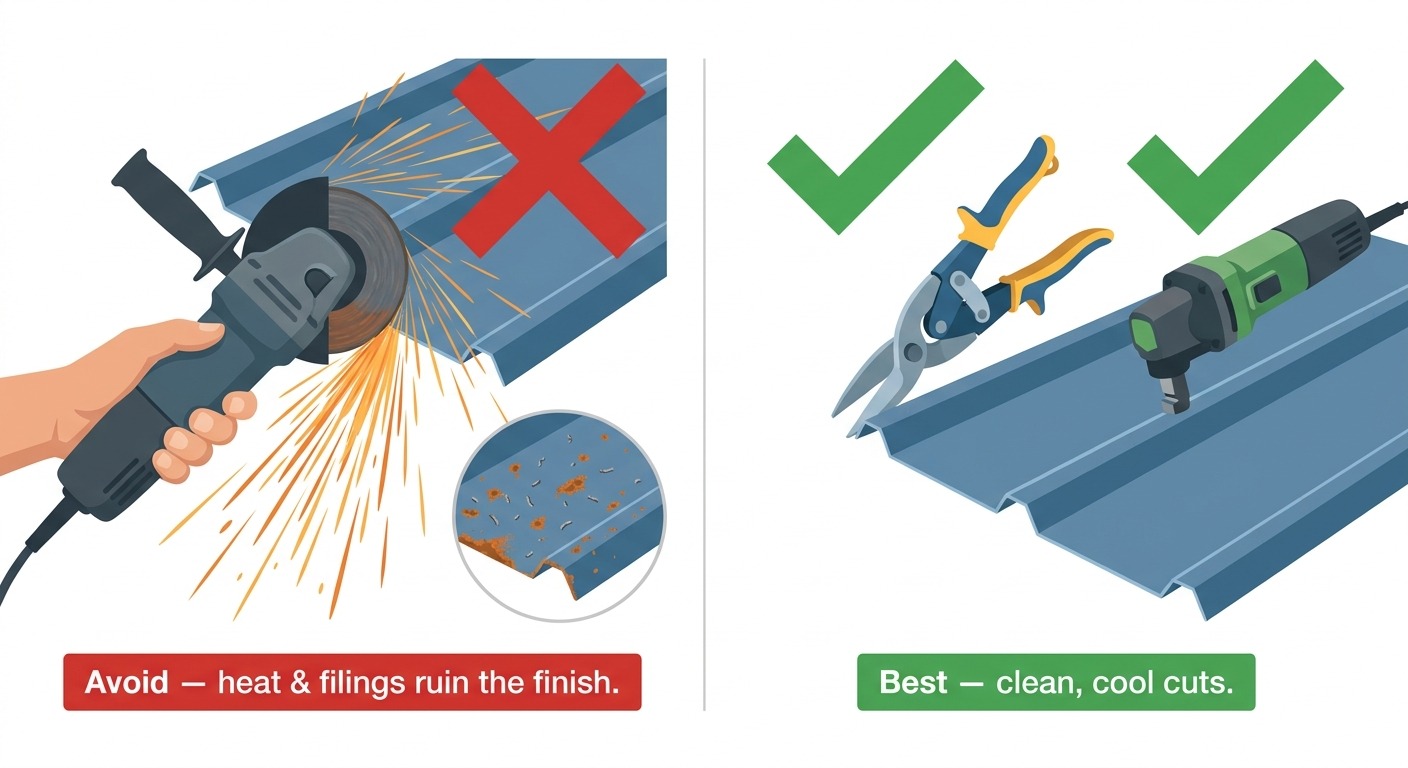
Better tools for a clean, finish-safe cut:
Whatever you use, sweep or blow every last metal filing off the panels before the end of the day. Loose swarf left on the surface will rust and stain the finish just like grinder sparks. And handle cut edges carefully—they're sharp, and a little trim or touch-up keeps them from becoming a rust starting point.
With your panels down and closures set, cap the roof. Install outside closure strips along the ridge, then fasten your ridge cap over the top, screwing into the high ribs on each side per your instructions. Finish the rake edges with rake trim, seal your penetrations with the correct boots and flashings, and do a final walk to check that every screw is seated correctly—snug, straight, and sealed.
Step back and you've got a roof rated for Oklahoma weather that should outlast two or three shingle roofs.
A DIY metal roof is only as good as the materials you start with. Indaco Metals manufactures 26-gauge steel roofing panels—available in residential standing seam, R-Panel, and Duraloc profiles—finished with a premium Sherwin-Williams coating that's baked on so it resists fading, chalking, and UV damage through decades of Oklahoma sun. You can choose from a wide range of colors, with matching trim, ridge cap, closures, and fasteners so every piece of your roof works together.
Just as importantly, our kits come with illustrated instructions, and our team is genuinely happy to help you plan your project—whether you're roofing a shed this weekend or a whole house. As a family-owned Oklahoma company for nearly 30 years, we'd rather spend a few minutes on the phone making sure you order the right panels and screws than have you guess.
Whether you're doing it yourself or working with a contractor, we'll help you get the right materials for a roof that's built to last.
Or stop by or call one of our two Oklahoma locations—our hours are Monday–Friday, 8 a.m.–5 p.m.:
With nearly 30 years of experience and materials manufactured right here in Oklahoma, Indaco Metals is ready to help you put a roof over your head that will stand strong for generations.
Complete this short form, or give us a call anytime: