Planning a carport installation for your property? You're making a smart investment in protecting your vehicles, equipment, and outdoor assets. Whether you're considering a DIY approach or professional installation, understanding the process, costs, and requirements will help you make the best decision for your situation and budget.
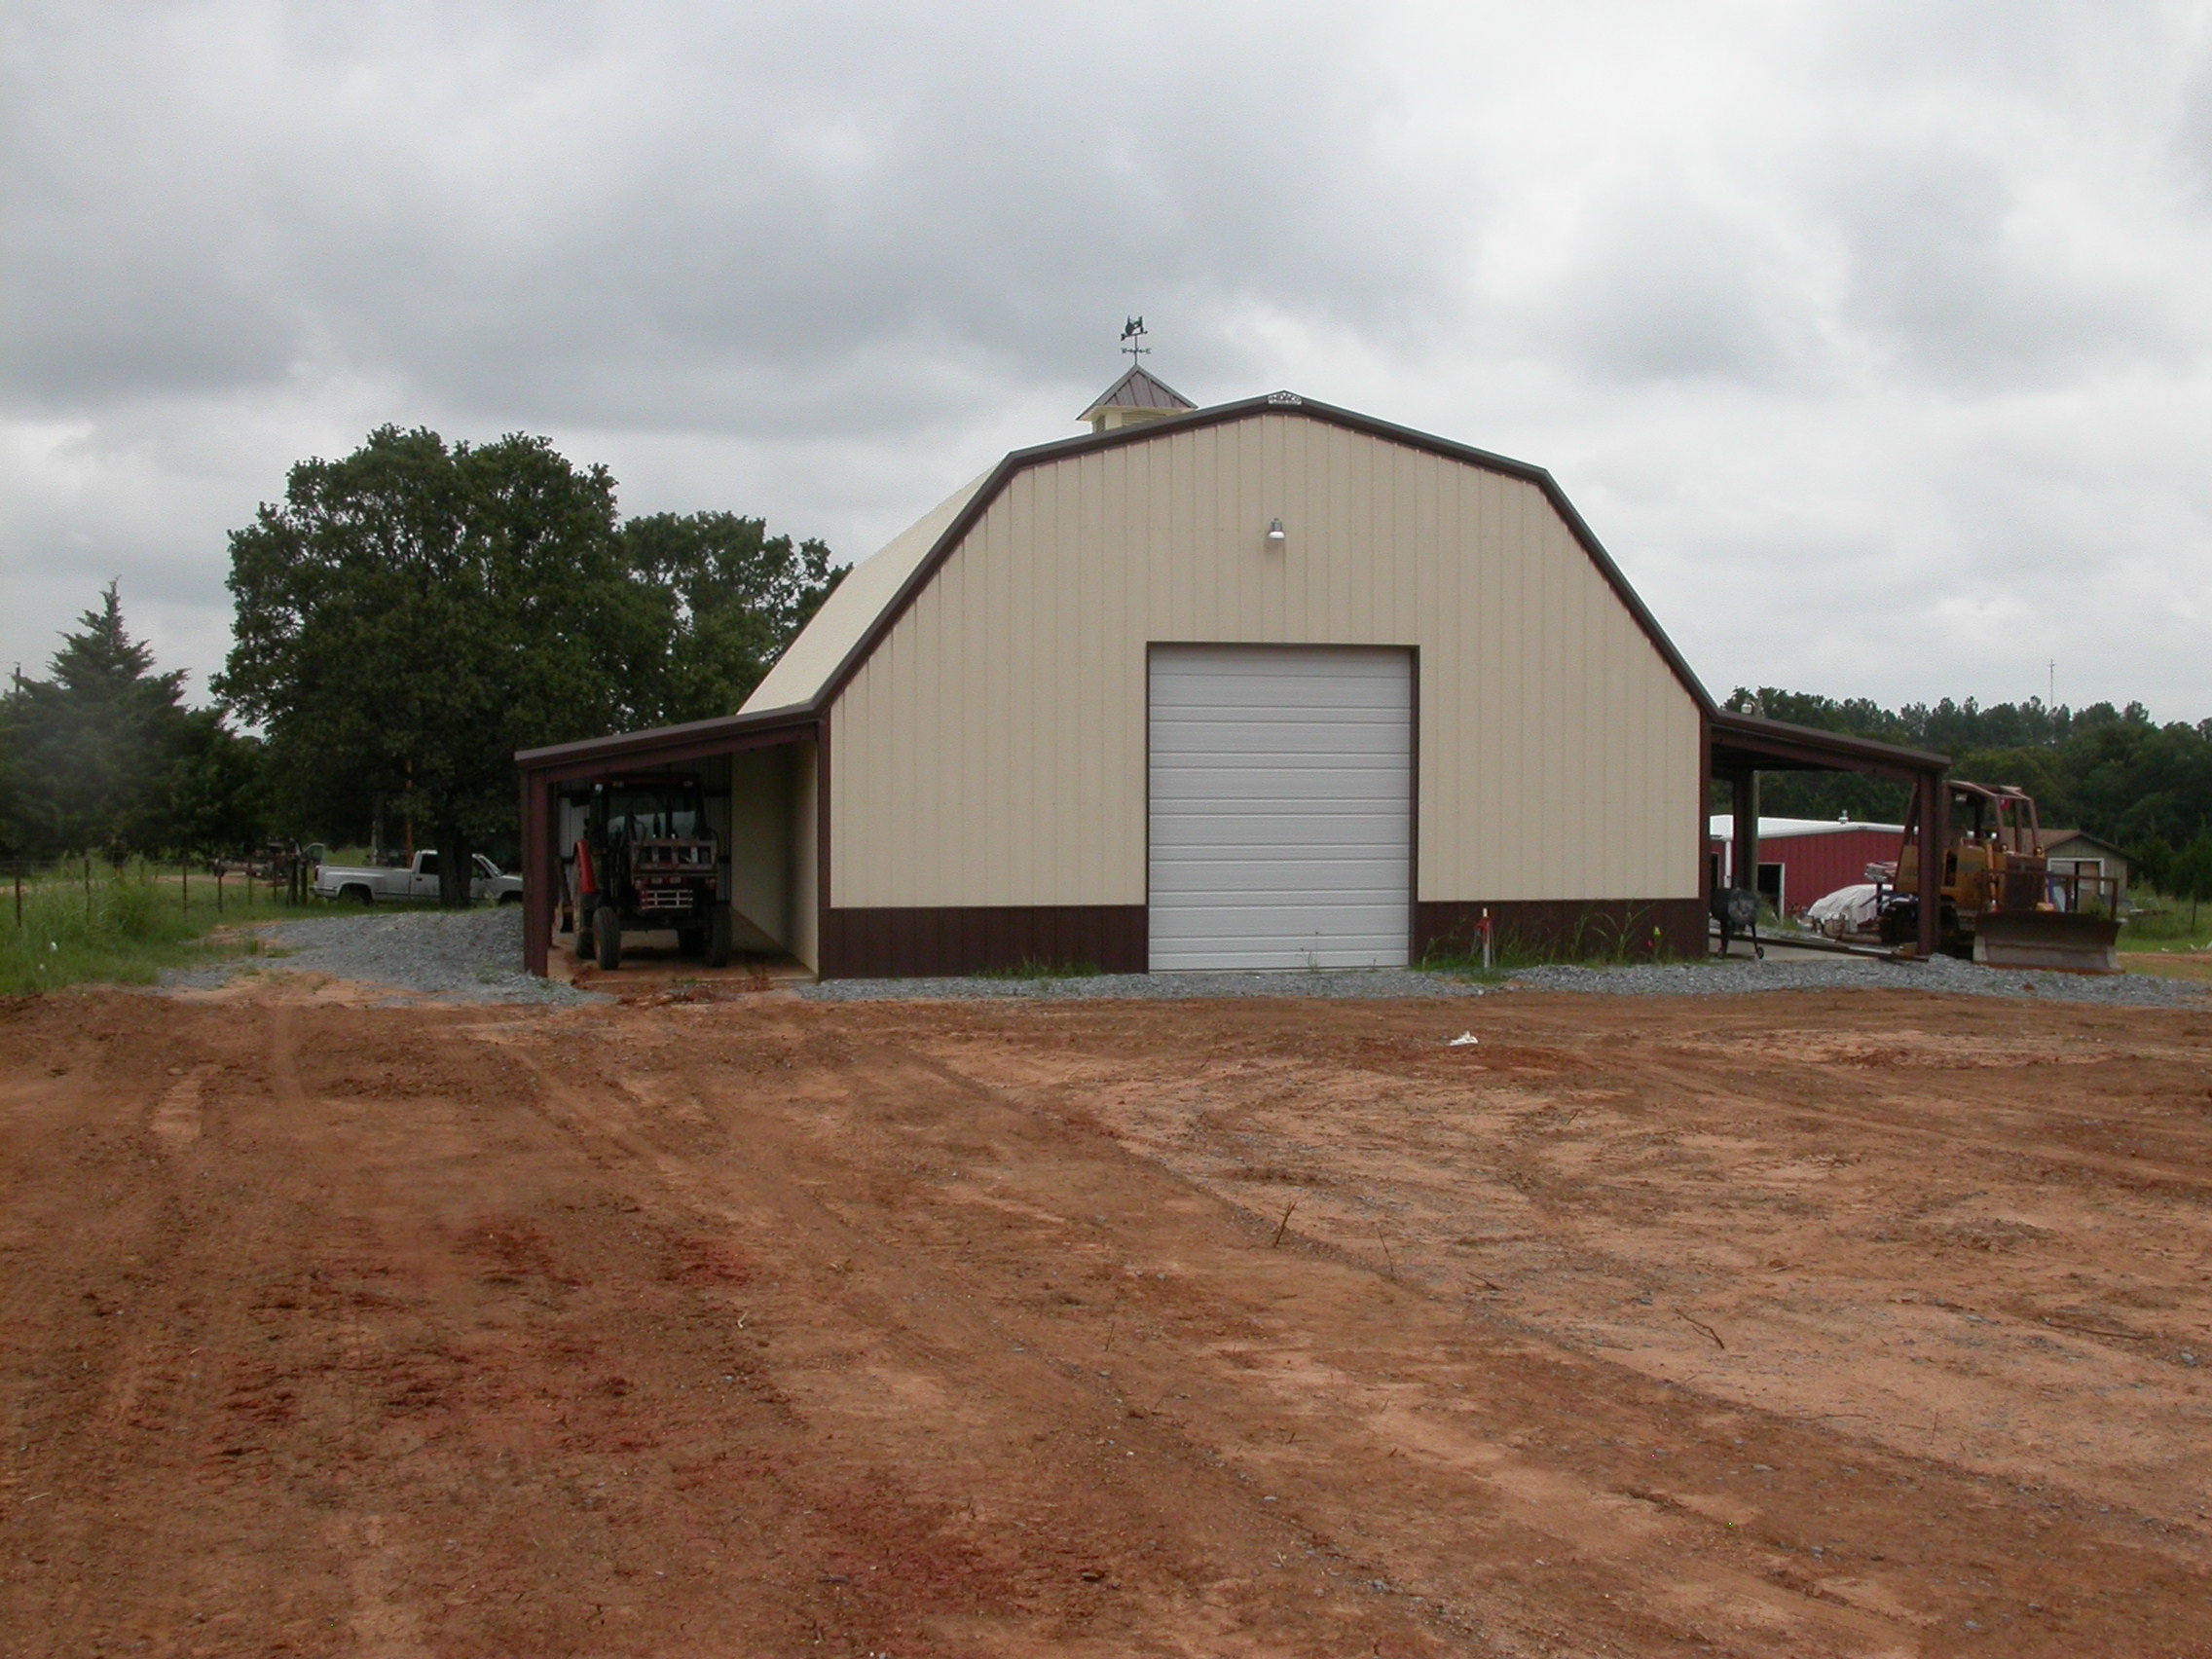
At Indaco Metals, we've been manufacturing high-quality carport kits since 1995, and we've seen thousands of successful installations across the country. Our complete carport kits are designed for straightforward assembly, but the installation process requires careful planning and preparation to ensure a long-lasting, safe structure.
Total DIY Cost Range: $3,000-$7,000 depending on size and foundation choice
Total Professional Installation Cost: $4,400-$10,500 including kit and installation
The cost difference between DIY and professional installation typically ranges from $1,400-$3,500, making DIY installation attractive for budget-conscious property owners with basic construction skills.
Before beginning your carport installation, several preparatory steps ensure success. Check local building codes and permit requirements, as many areas require permits for structures over certain sizes. Verify property line setbacks and HOA restrictions if applicable. Call 811 to mark underground utilities before any digging, and choose your foundation type based on soil conditions and budget.
Concrete Pad Foundation (Recommended) A concrete foundation provides the most stable and long-lasting base for your carport. Mark and stake the exact carport dimensions, ensuring the area is perfectly square by measuring diagonals. Excavate 4-6 inches deep for the concrete pad, extending 6 inches beyond the carport footprint on all sides. Install a gravel base and compact thoroughly before placing concrete forms. Pour and level 4-inch thick concrete, inserting anchor bolts according to your carport's anchor pattern. Allow 7-10 days for full curing before installation.
Gravel Pad Foundation (Budget Option) For a more economical approach, a properly prepared gravel foundation can work well. Excavate 4-6 inches deep across the entire footprint, install landscape fabric to prevent weed growth, and add 4-6 inches of crushed gravel in layers, compacting each 2-inch layer thoroughly. Ensure the final surface is level and well-compacted. Install ground anchors or concrete footings for structural attachment points.
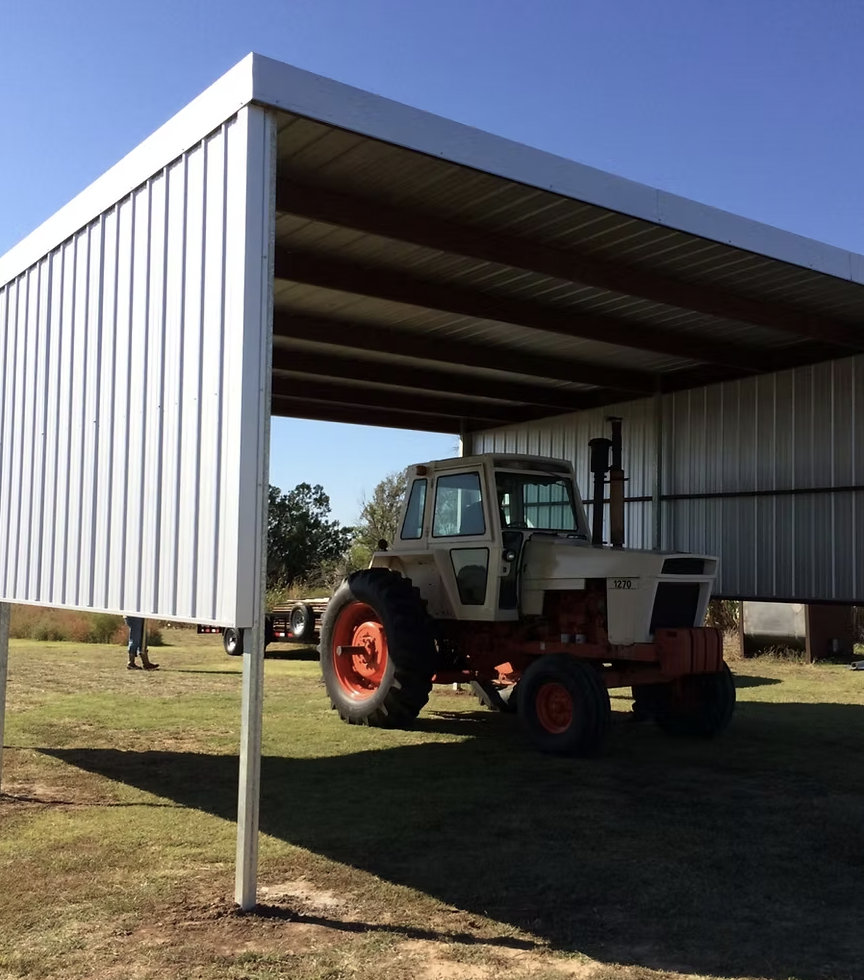
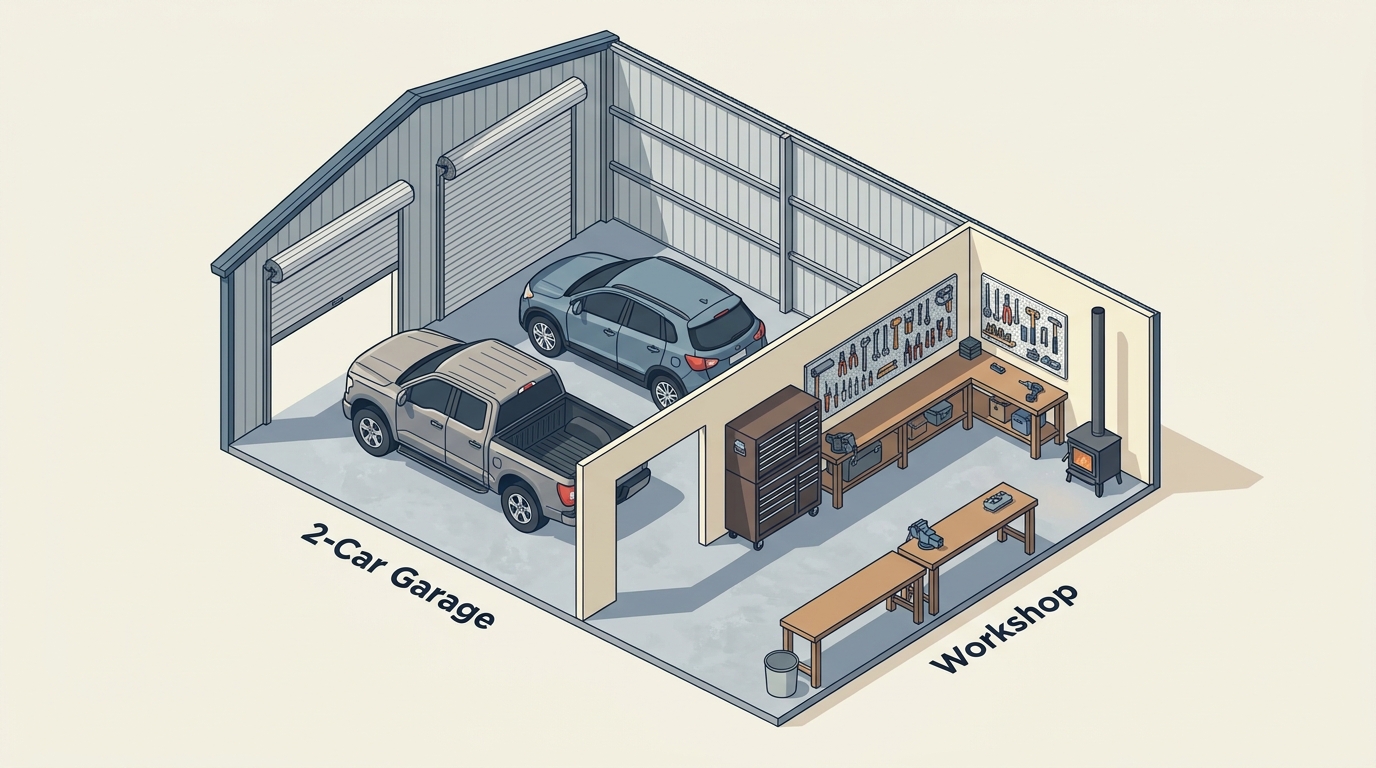
Most carport installations follow a similar assembly sequence. Begin by laying out all components and reviewing the instructions included with your Indaco carport kit. Start with the frame assembly, connecting the main structural components. The frame components are designed to bolt together, creating a structure engineered to withstand 90 mph winds when properly assembled.
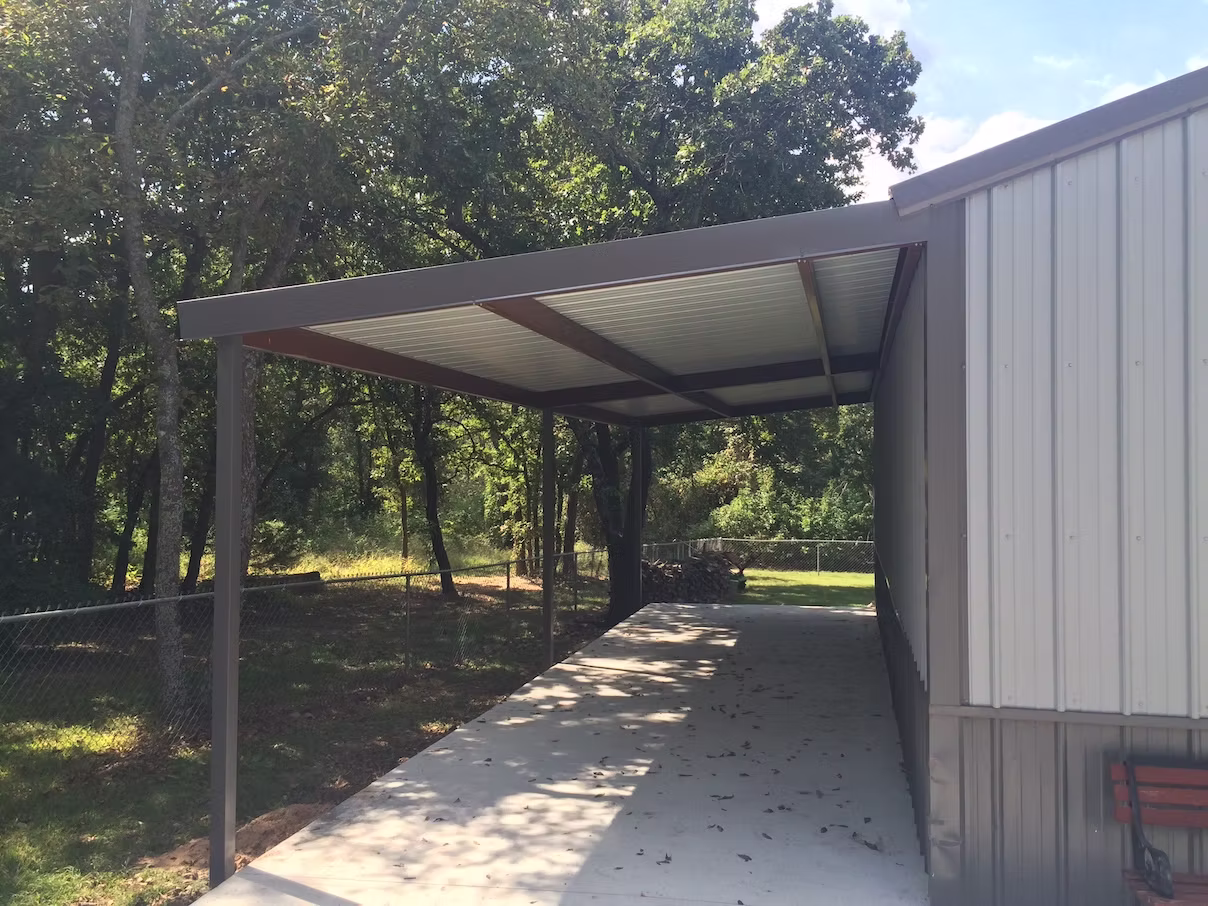
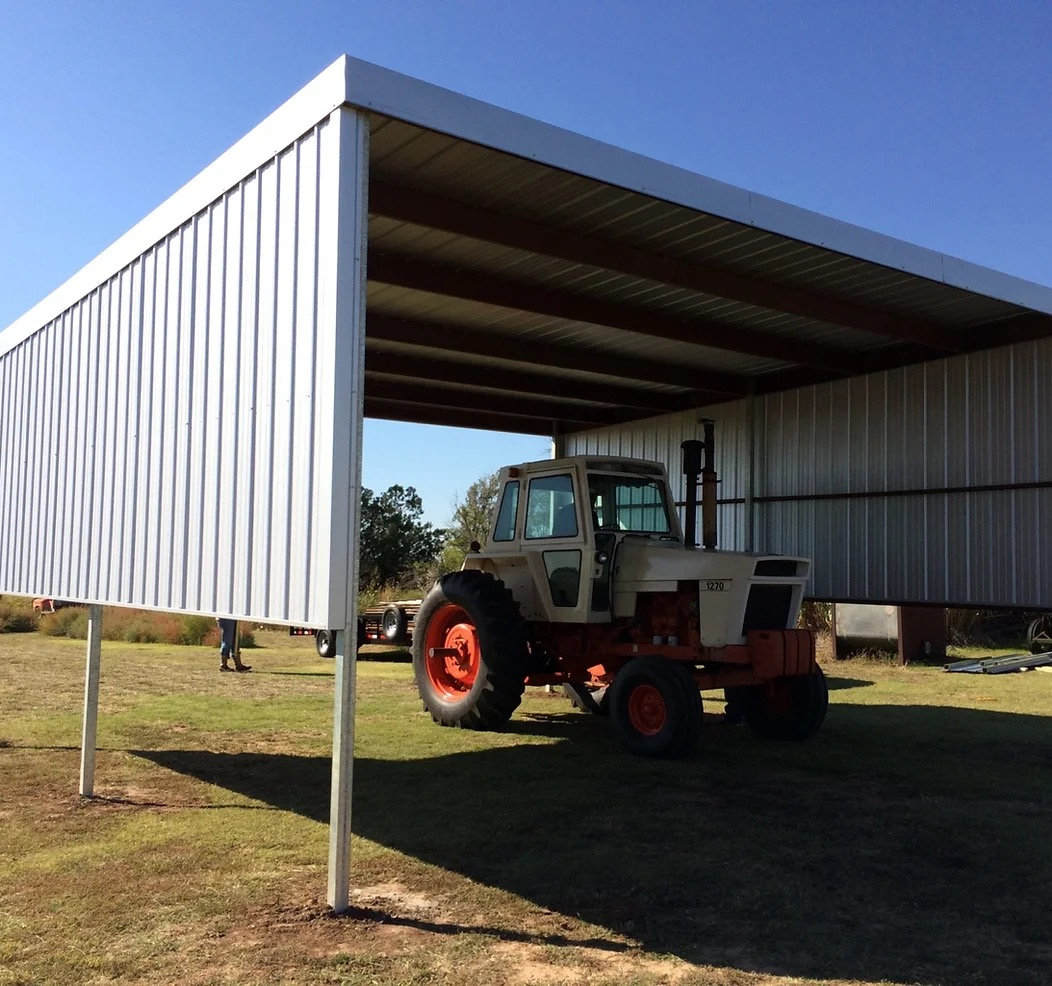
Install the frame sections in sequence, ensuring all connections are tight and the structure remains square throughout assembly. Once the frame is complete, install the precoated sheet metal roofing panels. Indaco's 26-gauge sheets come in either DuraLoc or R-Panel profiles and are available in 17 color options with Valspar® modified siliconized polyester coating for long-lasting protection.
Complete the installation by attaching all trim pieces to cover exposed edges and provide a finished appearance. The trim not only improves aesthetics but also protects against rust and provides safety by covering sharp metal edges.
DIY Installation Schedule:
Professional Installation Schedule:
Professional installation offers several compelling benefits. Expert installers ensure proper foundation preparation and accurate measurements, reducing the risk of structural issues. They bring specialized tools and equipment that most homeowners don't own, speeding up the installation process significantly. Professional work typically includes warranties on both materials and labor, providing peace of mind.
Licensed contractors understand local building codes and can handle permit applications, ensuring your carport meets all regulatory requirements. They also carry insurance, protecting you from liability if accidents occur during installation.
Consider professional installation if you lack construction experience or feel uncomfortable with the assembly process. Sites with challenging conditions such as sloped terrain, poor soil conditions, or tight access areas often require professional expertise. If you're adding electrical components for lighting or outlets, professional installation ensures safe, code-compliant electrical work.
Time constraints often make professional installation worthwhile. If you need your carport completed quickly or have limited weekend availability, professional installation can save weeks of project time.
A proper concrete foundation requires specific measurements and preparation. The pad should extend at least 6 inches beyond the carport structure on all sides, providing stability and room for water drainage. Use 4-inch thick concrete with proper reinforcement, and ensure the surface is level within 1/4 inch across the entire span.
Anchor bolt placement must match your carport's engineering specifications exactly. Indaco provides detailed anchor patterns with each kit, showing precise measurements for bolt placement. Proper anchoring is crucial for achieving the 90 mph wind rating.
For temporary installations or budget-conscious projects, alternative foundations can work effectively. Gravel pads provide good drainage and can be suitable for many installations when properly prepared and compacted. Concrete pier foundations work well for level sites and offer good stability while using less concrete than full pads.
Ground anchor systems can secure carports directly to well-compacted soil in areas with good drainage and stable ground conditions. However, these should only be used where local codes permit and soil conditions are appropriate.
Poor foundation preparation causes most carport problems. Skipping the gravel base under concrete leads to settling and cracking. Incorrect anchor bolt placement makes frame assembly difficult or impossible. Inadequate concrete thickness or curing time compromises structural integrity.
Ensure measurements are exact and double-check all dimensions before pouring concrete. The foundation sets the stage for everything else, so invest time in getting it right.
Rushing the assembly process often leads to problems. Not checking that the structure remains square during assembly can cause binding and stress on connections. Over-tightening or under-tightening bolts affects structural integrity. Failing to follow the sequence shown in assembly instructions can make later steps difficult or impossible.
Take time to understand each step before proceeding, and don't hesitate to contact Indaco's specialists if you have questions about the assembly process.
Weather conditions significantly impact installation success. Avoid concrete work in freezing temperatures or during hot, windy conditions that cause rapid drying. Don't attempt assembly during high winds, which make handling panels dangerous and difficult.
Plan your installation for stable weather conditions, and be prepared to pause work if conditions deteriorate.
Basic Hand Tools:
Foundation Tools:
For Foundation Work:
For Assembly:
Rental costs typically range from $200-$500 for a weekend, depending on equipment needed and local rental rates.
Indaco carport kits come complete with everything needed for the structure itself. The all-steel frame is engineered to bolt together easily, with pre-drilled holes and detailed instructions. All structural components are included, along with 26-gauge precoated sheet metal roofing panels available in DuraLoc or R-Panel profiles.
Every kit includes all necessary trim pieces to provide a finished appearance and cover exposed edges. Matching galvanized screws are provided for assembly, and illustrated instructions guide you through each step of the process.
Standard sizes include 12x20, 20x20, and 20x25 configurations, suitable for most residential and light commercial applications. Custom sizes are available for unique requirements or specific site constraints.
Color options include 17 different finishes, all featuring Valspar® modified siliconized polyester coating that resists fading and weathering for decades of attractive appearance.
Most jurisdictions require building permits for carports over certain sizes, typically 120-200 square feet. Requirements vary significantly by location, so check with your local building department early in the planning process.
Permit applications typically require site plans showing the carport location, setbacks from property lines, and structural details. The permit process usually takes 1-4 weeks and costs $50-$200 depending on local requirements.
Building codes address several aspects of carport installation. Setback requirements determine how close to property lines you can build. Height restrictions may limit carport size in some areas. Foundation requirements ensure adequate structural support.
Wind load requirements vary by geographic region, with higher requirements in areas prone to severe weather. Indaco's 90 mph wind rating exceeds requirements in most areas of the country.
You have basic construction skills and feel comfortable with the assembly process. You want to save $1,400-$3,500 in installation costs. You have adequate time and don't mind working over several weekends. Your site has good access and relatively level ground.
You lack construction experience or feel uncertain about any aspect of the process. Your timeline is tight and you need quick completion. Site conditions are challenging with slopes, access issues, or poor soil. You want warranty coverage on both materials and installation work.
Ready to move forward with your carport installation? Contact Indaco Metals to discuss your specific needs and get accurate pricing for your project. Our specialists can help you choose the right size and configuration, provide detailed installation guidance for DIY projects, or connect you with qualified contractors in your area.
Contact Indaco Metals:
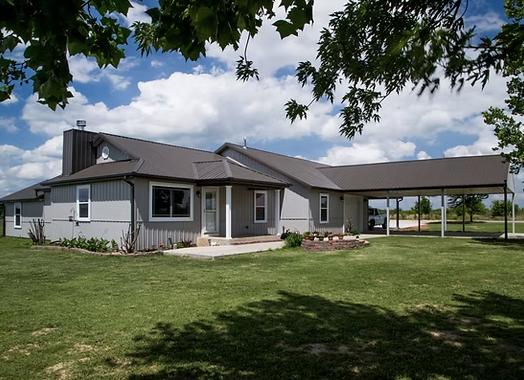
Whether you choose DIY or professional installation, a quality carport from Indaco Metals provides years of reliable protection for your vehicles and equipment. With proper planning and installation, your carport will deliver decades of trouble-free service while enhancing your property's functionality and value.
Complete this short form, or give us a call anytime: